Painting Hacks for Effortless and Professional Results Every Time
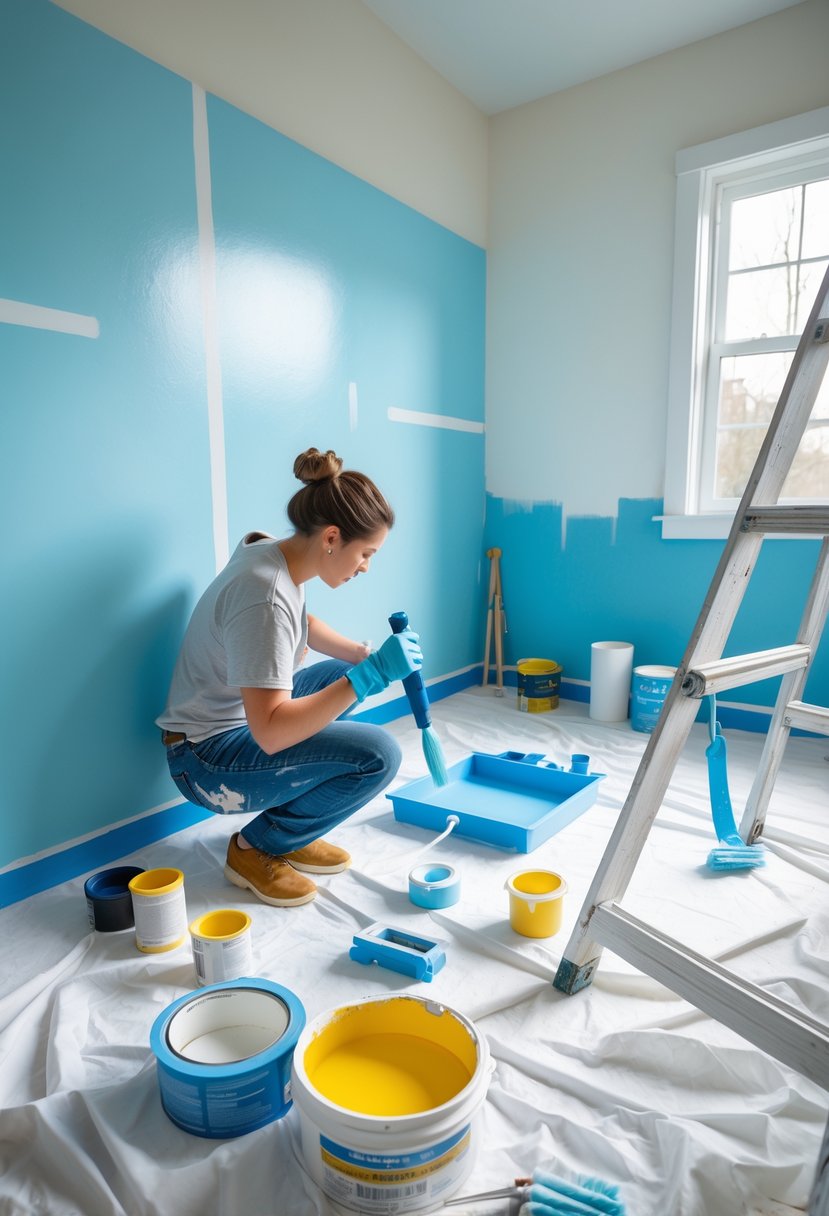
Painting can be a tough job, especially if you want a clean, professional look without wasting time or materials. Many people struggle with streaks, drips, and uneven coverage, which can make the project frustrating. Using smart painting hacks can simplify the process, save time, and improve the final result for both beginners and experienced painters.
These hacks include simple tricks like protecting your paint tray with plastic wrap for easy cleanup, using everyday items for better brush and roller control, and preparing your walls to avoid common issues. They also help with painting edges, baseboards, and ceilings more accurately, reducing mess and effort.
By applying these practical tips, anyone can paint more efficiently and achieve a polished finish that lasts longer. These hacks make painting less intimidating and more manageable, even for DIYers working on home projects.
Key Takeways
- Effective techniques can make painting cleaner and faster.
- Simple adjustments help avoid common painting mistakes.
- Practical tips improve the quality and ease of any paint job.
Essential Painting Hacks for DIY Projects
A successful paint job depends on smart preparation, using the right tools, and knowing how to handle the paint itself. These tips focus on saving time, achieving clean lines, avoiding common mistakes, and picking the best paint type for the job.
Cutting Down Prep Time
Preparation often takes the longest in painting projects, but certain steps speed this up without skipping quality. Use a damp cloth to wipe dust and dirt off walls instead of scraping. This cleans the surface quickly and allows the paint to stick better.
Remove outlet covers and hardware all at once and keep them in labeled bags. This avoids interruptions during painting. When taping edges, apply painter’s tape carefully to avoid peeling off dried paint later.
If the surface has minor cracks or holes, use fast-drying spackle. Sand only after it dries, then wipe off the dust. Using a quality primer can also reduce the number of paint coats needed, cutting the project time.
Using Painter’s Tape Effectively
Painter’s tape helps create sharp, clean edges, but only if applied correctly. Before taping, make sure the surface is clean and dry to improve tape adhesion. Press the tape down firmly, especially on corners and edges, to avoid paint bleeding.
Remove the tape before the paint fully dries but after it’s firm enough not to smudge. Pull the tape back on itself slowly at a 45-degree angle. If the paint has dried too long, score the tape edge lightly with a utility knife to prevent peeling.
Use the right tape for each surface: low-adhesion tape for delicate wallpaper and stronger tape for rough walls. This prevents damage when removing the tape and keeps paint lines neat.
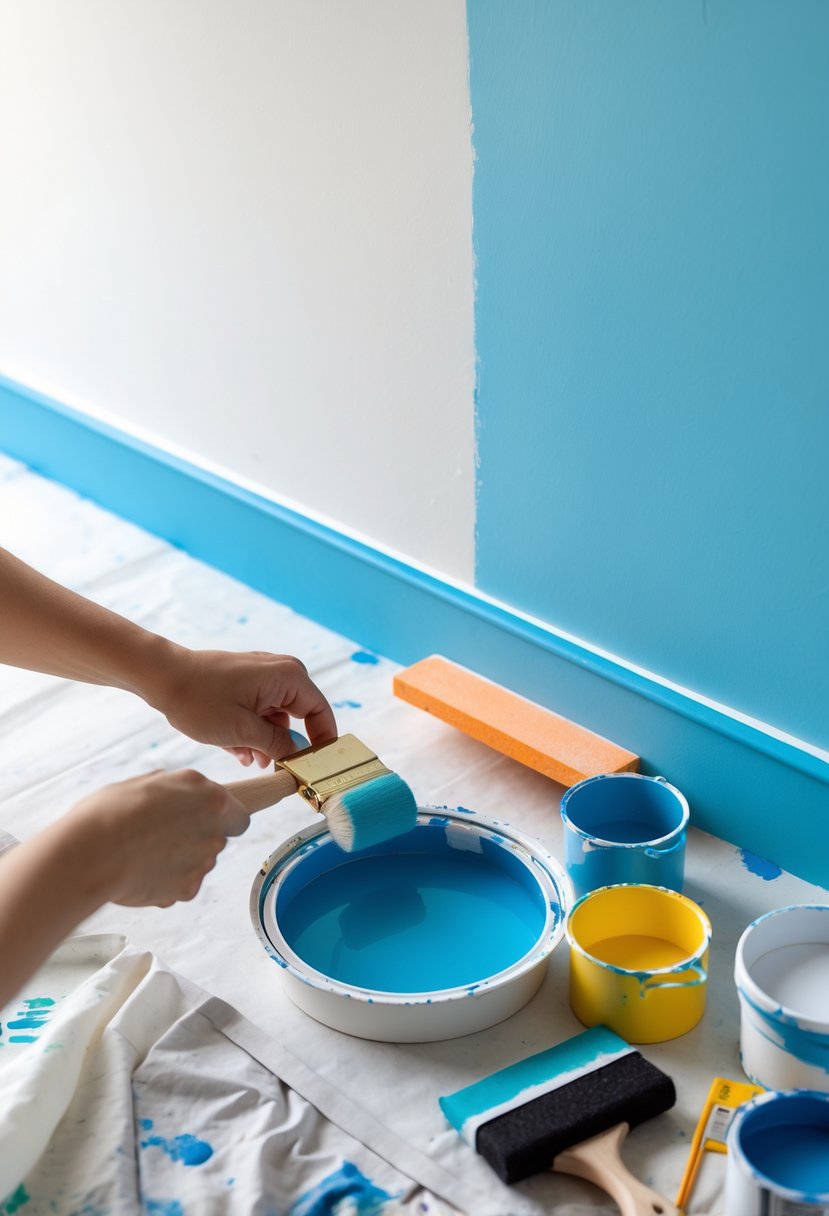
Preventing Paint Runs and Drips
Paint runs and drips are common in DIY painting but are easy to avoid with the right technique. Avoid overloading the brush or roller—dip only one-third of the brush into the paint and tap off excess.
Apply paint in thin, even coats. Thick coats take longer to dry and increase the chance of drips. When using a roller, use a paint tray grid to remove extra paint before rolling onto the wall.
If a drip appears, fix it quickly by smoothing it out with the brush or roller tip before it dries. Let each coat dry thoroughly before applying the next to reduce sagging and dripping.
Choosing Between Oil-Based and Water-Based Paints
Choosing the right paint is important for durability and ease of use. Oil-based paint is tougher and works well on trim, doors, and high-traffic areas. It dries slowly, allowing for smoother finishes, but requires mineral spirits for cleanup.
Water-based (latex) paint dries faster, emits fewer fumes, and cleans up easily with soap and water. It’s ideal for walls and ceilings. Latex paints also resist yellowing over time and are more flexible when the surface changes.
Consider the surface and project timeline. Oil-based offers durability but takes longer. Water-based is user-friendly and faster but may need more coats on some surfaces. Always check the label for specific use cases and drying times.
Advanced Painting Tips and Color Strategies
Choosing the right colors and maintaining tools properly can make painting smoother and improve the final look. Understanding common errors helps avoid wasted time and materials.
Selecting the Right Paint Colors
When picking paint colors, consider the room’s lighting and purpose. Lighter colors open up small spaces, while darker tones create coziness in large rooms. Test samples on walls before committing.
Oil-based paints are durable and good for trim because they resist chipping, but they take longer to dry and have strong odors. Water-based paints dry faster and clean up with water, making them ideal for walls and ceilings.
Use a color wheel to find complementary or analogous colors for a balanced look. Avoid using colors that clash or are too similar, as they may make the space feel dull or chaotic.
Cleaning and Maintaining Brushes and Rollers
Proper brush and roller care extends their life and keeps paint application smooth. Clean tools immediately after use to prevent paint from drying on them.
For water-based paint, rinse brushes and rollers under warm running water until the water runs clear. Use mild soap if needed.
Oil-based paint requires cleaning with mineral spirits or paint thinner. Soak brushes briefly, then wipe and rinse thoroughly. Store brushes flat or hang them to keep bristles straight.
Never let brushes and rollers sit with paint on them overnight. Dry bristles lose shape and paint buildup causes uneven strokes.
Avoiding Common Painting Mistakes
One common mistake is applying paint too thickly, causing drips and uneven drying. Thin coats dry faster and give better coverage when layered.
Not preparing surfaces properly leads to peeling or poor adhesion. Clean walls, fill holes, and sand rough spots before painting.
Using the wrong paint type on certain surfaces can cause problems. For example, avoid water-based paint on high-moisture areas unless it’s designed for that use. Oil-based paint works better on wood trim.
Lastly, rushing the job and skipping drying times can ruin the finish. Follow manufacturer drying time advice between coats for best results.