How to Install a Backsplash DIY: Your Friendly Guide to a Kitchen Glow-Up
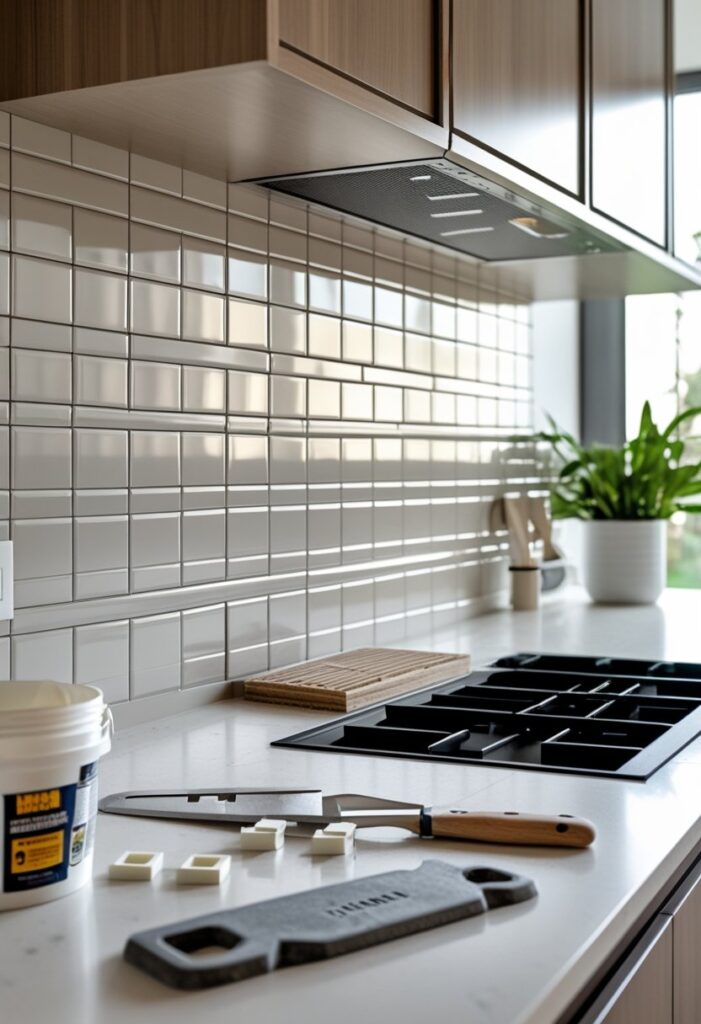
You’re thinking about jazzing up your kitchen with a backsplash but not quite sure where to start? Trust me, I’ve been there—staring at those blank walls wondering if I should call a pro or just dive in myself. Spoiler alert: you can totally install a backsplash DIY, and it’s not as scary as it sounds. Whether you’re aiming for sleek subway tiles or a funky mosaic, I’m here to walk you through every step. Ready to roll up your sleeves? Let’s do this!
Why Install a Backsplash Yourself?
The DIY Perks You’ll Love
Ever felt that rush when you finish a project and can’t stop admiring your handiwork? Installing a backsplash yourself gives you that exact vibe. Plus, it’s a budget-friendly way to transform your kitchen. No need to shell out for expensive labor, and you get total control over the look.
Here’s why I’m such a fan:
- Cost savings: Hiring pros can be pricey. DIY cuts those costs drastically.
- Creative freedom: Pick your own tiles, patterns, and grout colors.
- Skill boost: You’ll learn handy skills for future projects.
- Instant satisfaction: Nothing beats the pride of saying, “I did that!”
FYI, having a paint calculator handy can help if you’re repainting walls before tiling. It ensures you buy just the right amount of paint, avoiding waste and extra trips to the store.
Step 1: Gather Your Tools and Materials

Before you jump in, let’s make sure you have everything ready. Nothing kills the vibe like running back and forth to the hardware store.
Essentials You’ll Need
- Tiles: Ceramic, glass, or peel-and-stick options.
- Tile adhesive or thin-set mortar: For sticking tiles to the wall.
- Grout: To fill gaps between tiles.
- Notched trowel: For spreading adhesive evenly.
- Tile spacers: Keep your tiles perfectly aligned.
- Tile cutter or wet saw: To trim tiles to size.
- Level: To ensure everything is straight.
- Tape measure: Accuracy is key!
- Sponge and bucket: For cleaning grout.
- Painter’s tape: Protect edges and surfaces.
- Safety gear: Gloves and goggles.
Got all that? Great! If you’re feeling overwhelmed, remember: breaking it down into steps makes it way easier.
Step 2: Prep Your Wall Like a Pro
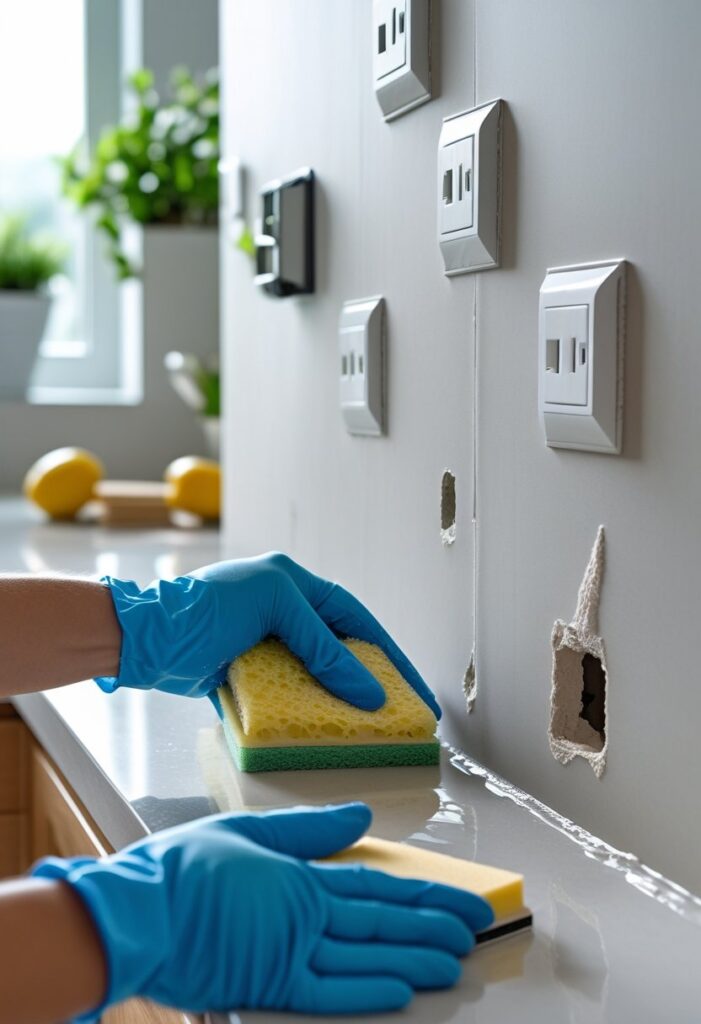
Why Prep Matters
Imagine trying to stick tiles on a dusty or uneven wall—yeah, no bueno. Proper prep ensures your backsplash lasts and looks flawless.
How to Prep Your Wall
- Clean the surface: Wipe down with a mild detergent to remove grease and dirt.
- Remove outlet covers: Safety first!
- Repair any holes or cracks: Use spackle or filler.
- Sand smooth: Lightly sand the wall for better adhesion.
- Prime if needed: Some surfaces need a primer to help tiles stick.
Pro tip: If you’re repainting before tiling, this is where your paint calculator comes in handy. It helps you pick the right amount of primer or paint to cover the area without waste.
Step 3: Plan Your Layout
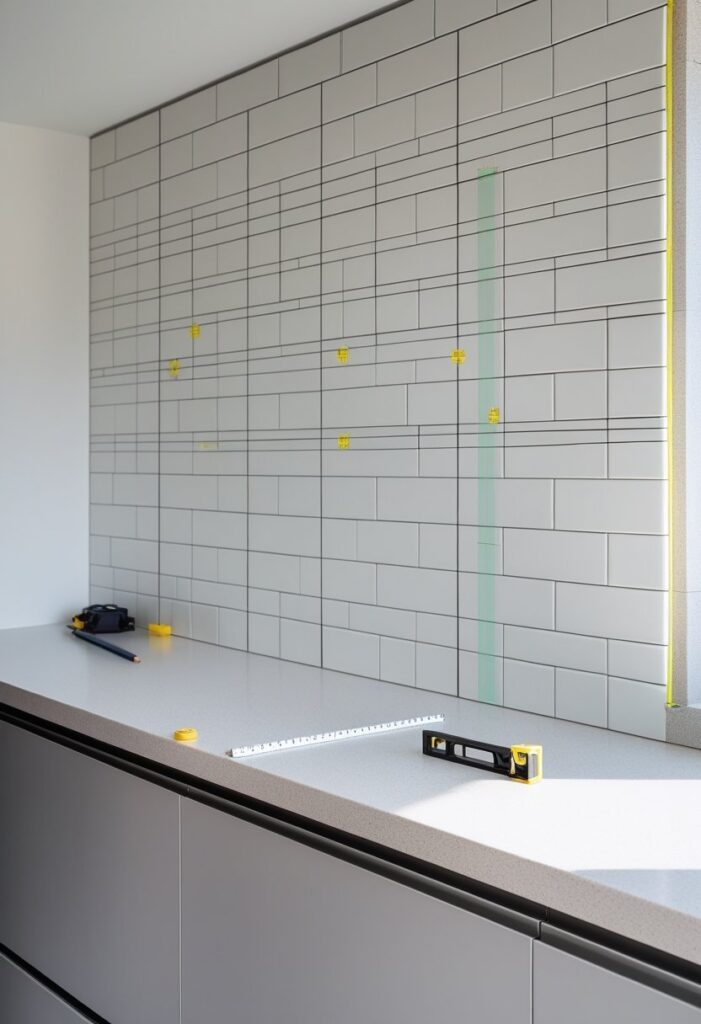
The Secret to a Stunning Backsplash
Ever heard the phrase, “Measure twice, cut once”? It’s gold here. Planning saves headaches later.
How to Plan Like a Boss
- Start from the center: Find the midpoint of your wall and tile outwards.
- Dry lay tiles: Place tiles without adhesive to see how they fit.
- Avoid tiny slivers: Adjust your layout so you don’t end up with tiny tile pieces at edges.
- Mark guidelines: Use a level and pencil to draw straight lines.
This step is all about envisioning the final look and making sure your tiles fit perfectly. Trust me, it’s worth the extra time.
Step 4: Time to Tile!
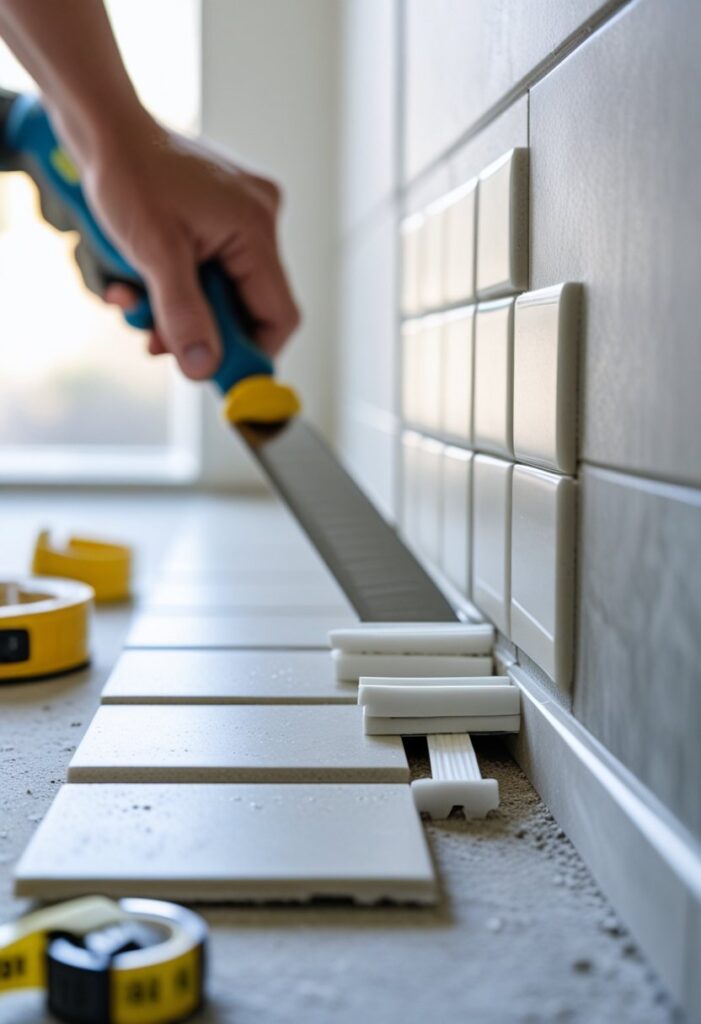
Alright, here comes the fun part—actually sticking those tiles on the wall.
Step-by-Step Tiling Guide
- Mix your adhesive: Follow the package instructions.
- Apply adhesive: Use the notched trowel to spread it on a small section.
- Press tiles into place: Start at your center line and work outwards.
- Use spacers: Keep consistent gaps for grout.
- Cut tiles as needed: Measure and trim tiles to fit edges or around outlets.
- Let adhesive dry: Usually 24 hours, but check your product’s instructions.
A quick tip: Don’t spread adhesive over a huge area at once. It can dry before you place tiles.
Step 5: Grout Like a Boss
What’s Grout and Why It’s Important
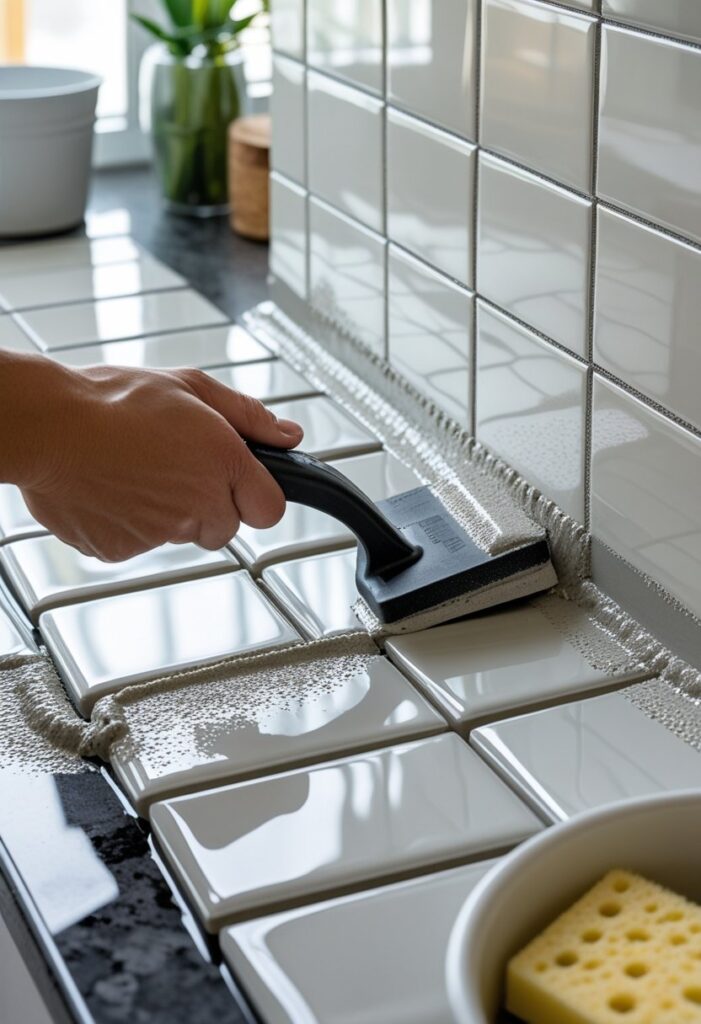
Grout fills the gaps between tiles, sealing them and giving your backsplash that polished look. Plus, it keeps moisture out.
How to Grout Your Backsplash
- Mix grout: Follow package directions.
- Apply grout: Use a rubber float to push grout into gaps.
- Remove excess: Hold the float at a 45-degree angle and scrape off extra grout.
- Clean tiles: Wipe with a damp sponge (rinse often).
- Let dry: Usually 24 hours.
- Seal grout (optional): Protects grout from stains.
Pro tip: Don’t skip sealing if you’re using porous tiles or grout. It helps keep your backsplash looking fresh for years.
Step 6: Finishing Touches and Clean-Up
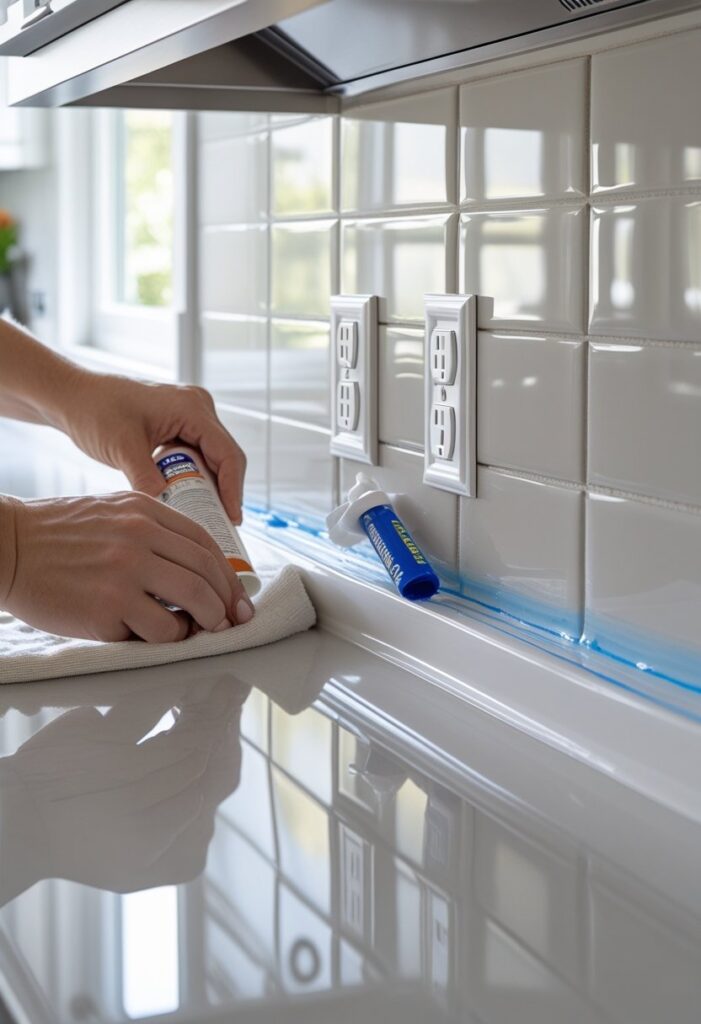
You’re almost there! Just a few more steps before you can admire your handiwork.
Final Steps to Shine
- Replace outlet covers: Carefully screw them back on.
- Caulk edges: Use silicone caulk where backsplash meets countertops or cabinets to prevent water seepage.
- Clean up: Wipe down tiles and remove any haze from grout.
And voilà! Your kitchen just got a major upgrade.
Bonus Tips for a Smooth DIY Backsplash Experience
- Take your time: Rushing leads to mistakes.
- Watch tutorials: Sometimes a quick video clears things up.
- Ask for help: Two heads (and hands) are better than one.
- Use a paint calculator: Especially if you’re repainting walls before or after tiling. It saves you from buying too much or too little paint.
Wrapping It Up: Your DIY Backsplash Journey
So, there you have it—your friendly, step-by-step guide to installing a backsplash DIY. From gathering tools to that satisfying final grout wipe, you’re now equipped to tackle this project like a champ. Remember, it’s all about prep, patience, and a bit of creativity. And hey, if I can do it with zero professional skills, so can you!
Ready to transform your kitchen wall and impress your friends? Grab those tiles, channel your inner DIY guru, and get started. Your backsplash glow-up awaits!

