Painting Hacks for Flawless DIY Home Projects
Painting can be a tough and messy job, but it doesn’t have to be. Using simple painting hacks can save time, reduce mistakes, and make the process much smoother. These tricks help with everything from prepping surfaces to cleaning brushes and achieving sharp, clean edges.

Many homeowners and DIYers struggle with common issues like streaks, drips, and uneven coverage. By learning a few easy techniques and using some clever tools, anyone can improve their painting results. These hacks can also help cut down on cleanup time and paint waste.
Knowing how to choose the right paint and work with it effectively makes a big difference too. When combined with the right methods, the whole project becomes quicker and less frustrating.
Key Takeaways
- Simple tips can make painting faster and less messy.
- Using the right tools and techniques improves the final look.
- Understanding paint types helps achieve better results.
Essential Painting Hacks for a Flawless Finish

A smooth, professional paint job depends on careful preparation, precise brushwork, and controlling the flow of paint. Proper surface cleaning, sharp edges, and avoiding drips are key steps anyone can follow.
Prepping Surfaces Like a Pro
Proper surface preparation is the foundation of a great paint job. Surfaces must be clean, dry, and smooth. Dust, dirt, and grease stop the paint from sticking well, leading to peeling and uneven patches.
Start by washing walls with mild soap and water or a suitable cleaner. For glossy surfaces, sanding lightly helps the paint adhere better. Fill holes or cracks with spackle, then sand those areas smooth.
Use a tack cloth to wipe off sanding dust. When the surface is ready, apply painter’s tape around trim and edges to protect areas that should stay paint-free. This saves cleanup time and prevents messy edges later on.
Secrets to Clean Lines and Edges
Sharp lines separate a professional job from a DIY paint mess. Painter’s tape is essential but must be applied correctly. Press the tape firmly along edges to avoid paint bleeding underneath.
For best results, paint the edge of the tape with the base color first. This seals the tape’s edge and stops the new color from leaking under. After this dries, paint the main color.
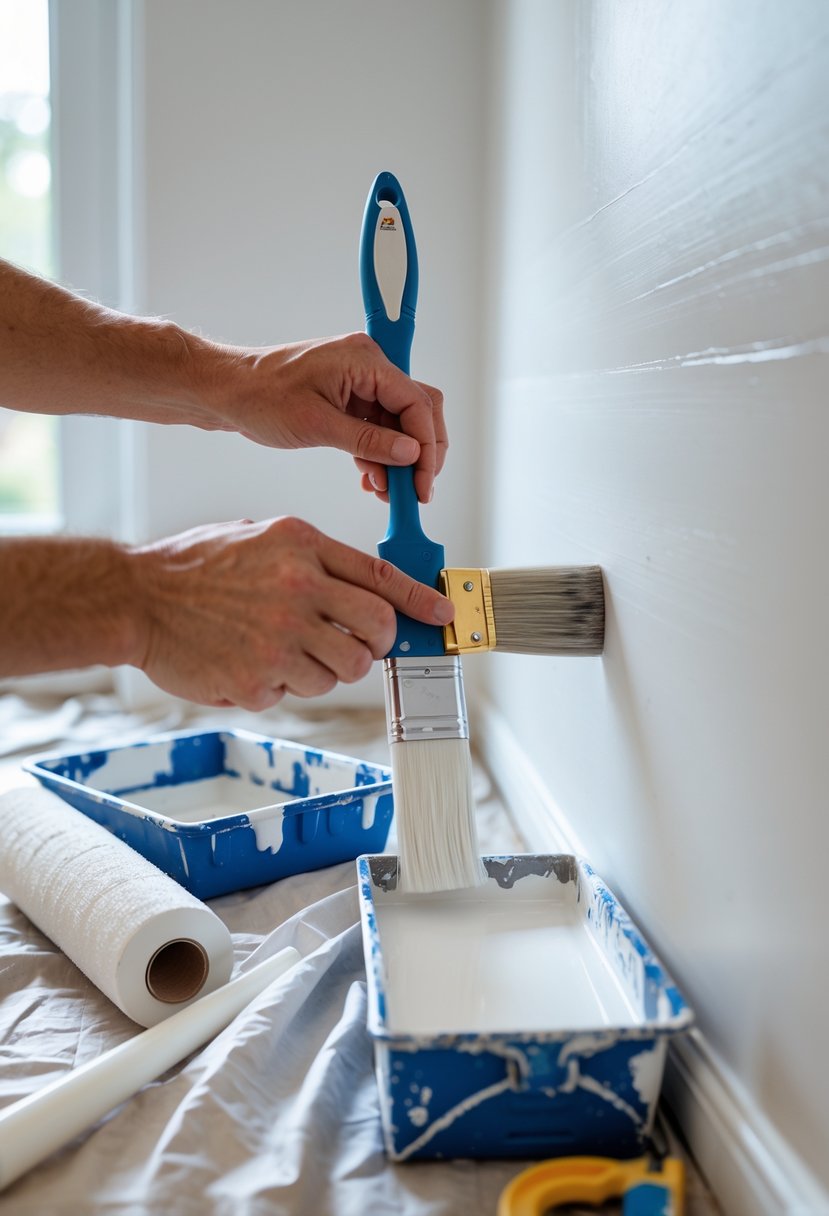
When cutting in corners or along trim, use a small angled brush. Apply paint slowly and carefully to keep lines straight. Remove tape while the paint is still slightly wet so it peels cleanly without pulling off dried paint.
Preventing Paint Runs and Drips
Paint runs happen when too much paint is loaded on the brush or roller. To prevent this, dip just a small portion of the brush or use a roller tray to remove excess paint.
Apply thin, even coats rather than one thick layer. Thin coats dry faster and reduce the chance of drips. When painting vertical surfaces, work from top to bottom so any drips can be smoothed out as you go.
If a drip forms, brush over it gently before it dries. Keep a damp cloth nearby to wipe excess paint before it sets. Spraying or splashing can also be limited by slow, controlled strokes and avoiding overly wet brushes.
Smart Tools and Techniques for DIY Painting

Using the right tools and techniques can save time and improve the quality of a painting project. Painter’s tape can do more than just protect edges. Proper brush and roller use speeds up work and prevents mistakes. Managing paint trays and cans efficiently cuts down on mess and waste.
Innovative Uses for Painter’s Tape
Painter’s tape is essential for clean lines and protecting areas from paint. Beyond simple edge masking, it can create sharp patterns and designs on walls or furniture. Applying tape in strips or shapes allows for custom styles that look professional.
To avoid paint bleed, press down the tape edges firmly. Removing the tape while the paint is still slightly wet helps prevent peeling. Painter’s tape can also hold drop cloths or protect handles during a job. Using this tape thoughtfully reduces cleanup time and improves the finished look.
Time-Saving Brush and Roller Tips
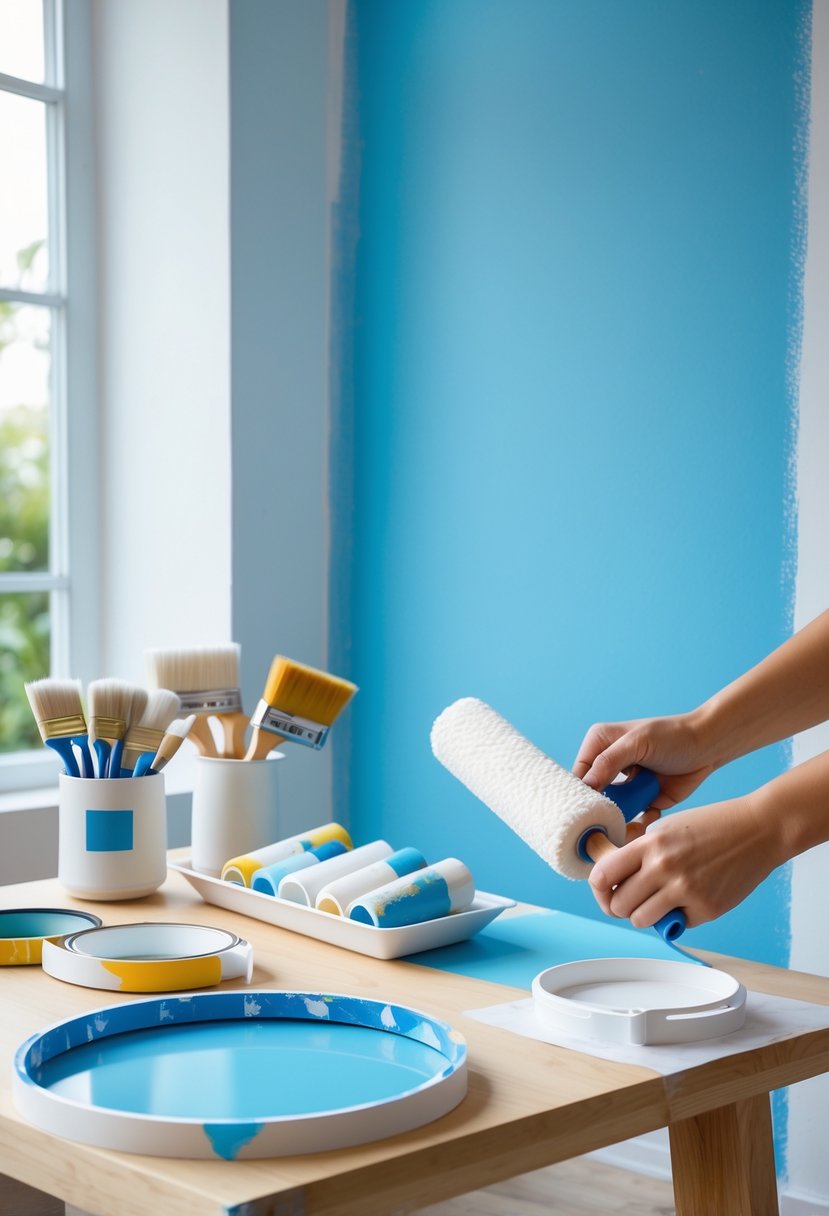
Choosing the right brush or roller size for each surface speeds up painting. A wider roller is good for large walls, while a smaller brush is better for edges and corners. Keeping brushes moist during breaks prevents drying and saves time on cleanup.
Rolling in a “W” or “M” pattern distributes paint evenly and avoids streaks. For brushes, light, even strokes reduce drips and patches. Using high-quality synthetic bristles helps hold paint well and smooth edges better.
Creative Tray and Can Management
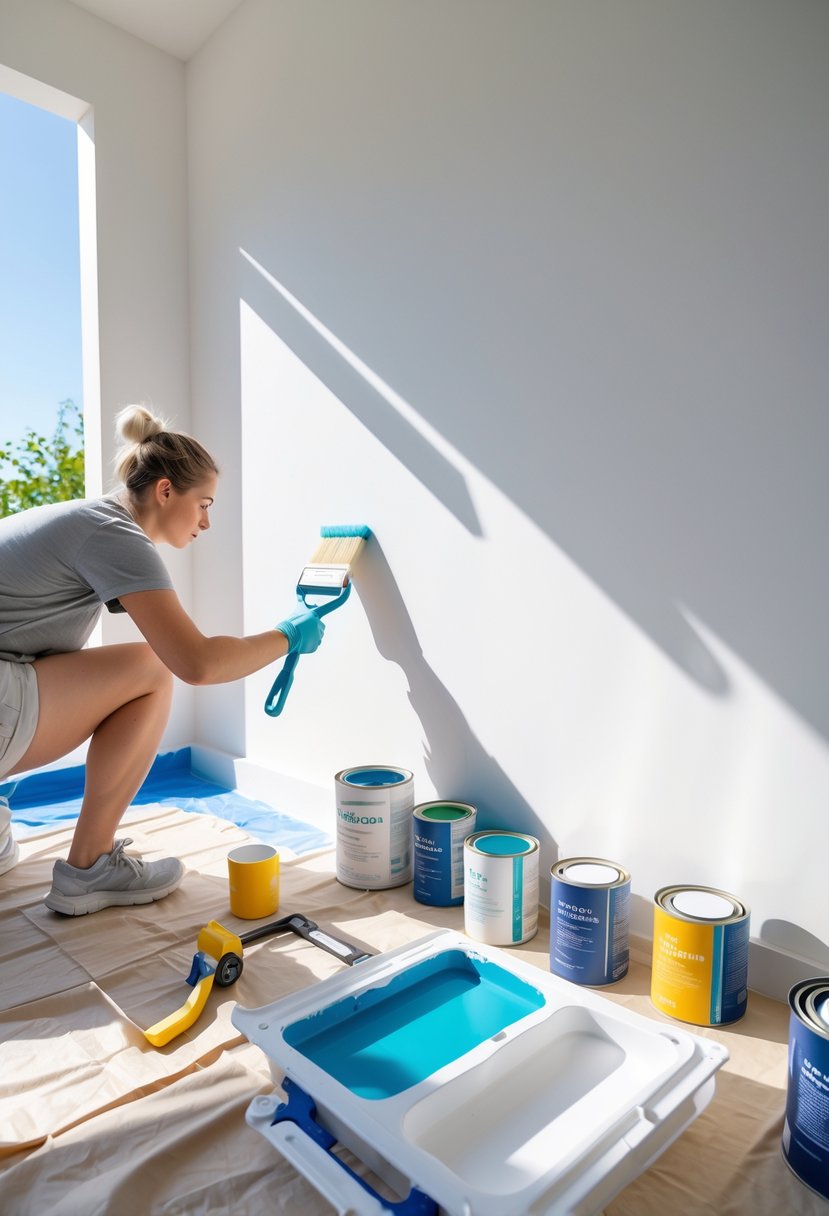
Organizing paint trays and cans avoids spills and waste. Pour enough paint into a tray grid to cover the roller evenly without excess pooling. A shallow tray section helps control the load on the roller.
If switching colors, wrap the tray in plastic wrap to save leftover paint for later without drying out. Keeping can lids on tightly between coats prevents skinning. A simple bucket with water nearby aids quick brush rinsing during breaks.
This setup keeps the workspace clean and paint ready to use, making the job faster and less frustrating.
Choosing and Using Paints Effectively

Choosing the right paint and using it properly makes a big difference in how a project turns out. It affects the look, durability, ease of cleanup, and even safety. Paying attention to colors, paint types, and handling tips helps avoid common issues.
Selecting Paint Colors and Finishes
Choosing the right color matters for the room’s mood and style. Lighter colors make spaces look bigger and brighter. Darker colors give a cozy, dramatic feel but may show imperfections more.
Paint finishes affect durability and appearance:
- Matte: Hides flaws, low sheen, ideal for ceilings or low-traffic walls.
- Satin: Slight shine, easy to clean, good for most walls.
- Semi-gloss: Shiny, moisture-resistant, best for kitchens, bathrooms, and trim.
- Gloss: Very shiny, durable, used on cabinets and doors.
When picking colors, test samples on the wall and check under different lighting. Avoid colors that clash or look cheap by choosing tones that blend with furniture and room style.
Oil-Based vs Water-Based Paint Essentials
Oil-based paint is durable and smooth, good for trim and high-use areas. It takes longer to dry and needs solvents like mineral spirits for cleanup.
Water-based (latex) paint dries faster and cleans easily with soap and water. It’s less smelly and better for indoor air quality. It works well on walls and ceilings.
He should consider the surface and project size:
| Paint Type | Drying Time | Cleanup | Best Use | Odor Level |
|---|---|---|---|---|
| Oil-Based Paint | Slow (hours) | Solvent needed | Trim, doors, furniture | Strong |
| Water-Based | Fast (1-2 hrs) | Soap and water | Walls, ceilings | Mild |
Water-based paints are more flexible and resist cracking better over time. Oil-based paints offer harder finishes but may yellow with age.
Managing Paint Odors and Cleanup
Paint fumes can be strong, mainly with oil-based paints. Good ventilation helps reduce odors. Opening windows or using fans speeds up drying and reduces smell exposure.
To clean brushes and tools after oil-based paint, use mineral spirits or paint thinner. For water-based paint, soap and warm water work well.
Vinegar is an affordable option to clean brushes with dried paint residue. Soak brushes in vinegar for 30-60 minutes, then comb out remaining paint.
Keeping paint sealed well in containers prevents drying out between coats. Pouring paint back from tray to can quickly helps save leftover paint. Using painter’s tape as a spout improves pouring without mess.


