Plan Your Renovation: The Ultimate Guide to a Smooth Makeover
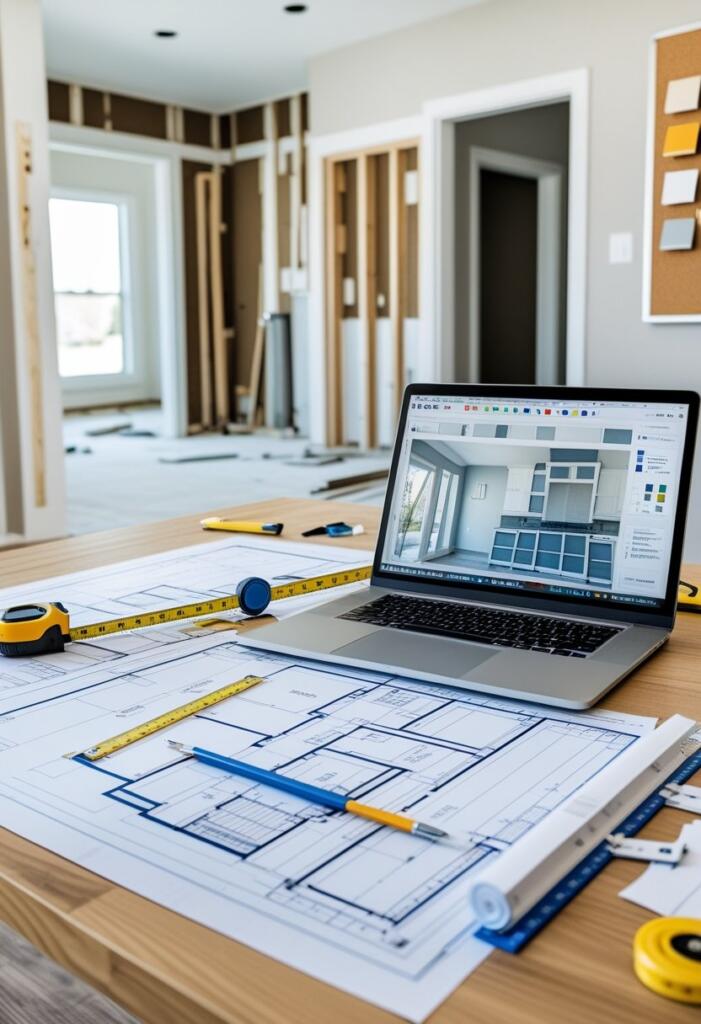
So, you’re thinking about renovating your space? That’s awesome! But, let’s be real—before you start swinging hammers or picking out paint colors, there’s one thing you absolutely cannot skip: Pre-renovation Planning. Trust me, I’ve been through the renovation rollercoaster more than once, and I can tell you, a little planning goes a long, long way. Whether you’re tackling a bathroom facelift or a full-on kitchen overhaul, having a solid plan is the secret sauce to keeping your sanity (and your budget) intact.
Why Pre-renovation Planning Matters
Ever heard the saying, “Failing to plan is planning to fail”? When it comes to home renovations, that couldn’t be more true. I’ve seen friends dive headfirst into projects only to hit a wall—sometimes literally—because they didn’t map things out first. Pre-renovation planning isn’t just about making a to-do list. It’s about dreaming big, setting realistic expectations, and, most importantly, avoiding those “uh-oh” moments that can turn your dream project into a nightmare.
The Real Benefits of Planning Ahead
- Saves money and time by avoiding costly mistakes
- Reduces stress—no more last-minute scrambles!
- Ensures your vision comes to life exactly as you imagined
- Helps you communicate clearly with contractors and designers
Step 1: Define Your Renovation Goals

Before you start pinning ideas on Pinterest or binge-watching home makeover shows, ask yourself: What do I really want to achieve?
Clarify Your Vision
Maybe you want a cozy reading nook, or perhaps you’re dreaming of an open-concept kitchen. Be specific! The clearer your vision, the easier it’ll be to make decisions down the line.
- Write down your must-haves (e.g., more storage, better lighting)
- List your nice-to-haves (e.g., heated floors, fancy backsplash)
- Sketch out a rough layout or gather inspiration photos
Set Priorities
Let’s be honest: budgets are real, and sometimes compromises are necessary. Rank your goals in order of importance. That way, if you need to make adjustments, you know what matters most.
Step 2: Assess Your Space
Now it’s time to get up close and personal with your current space. Grab a notebook (or your phone) and take a critical look around.
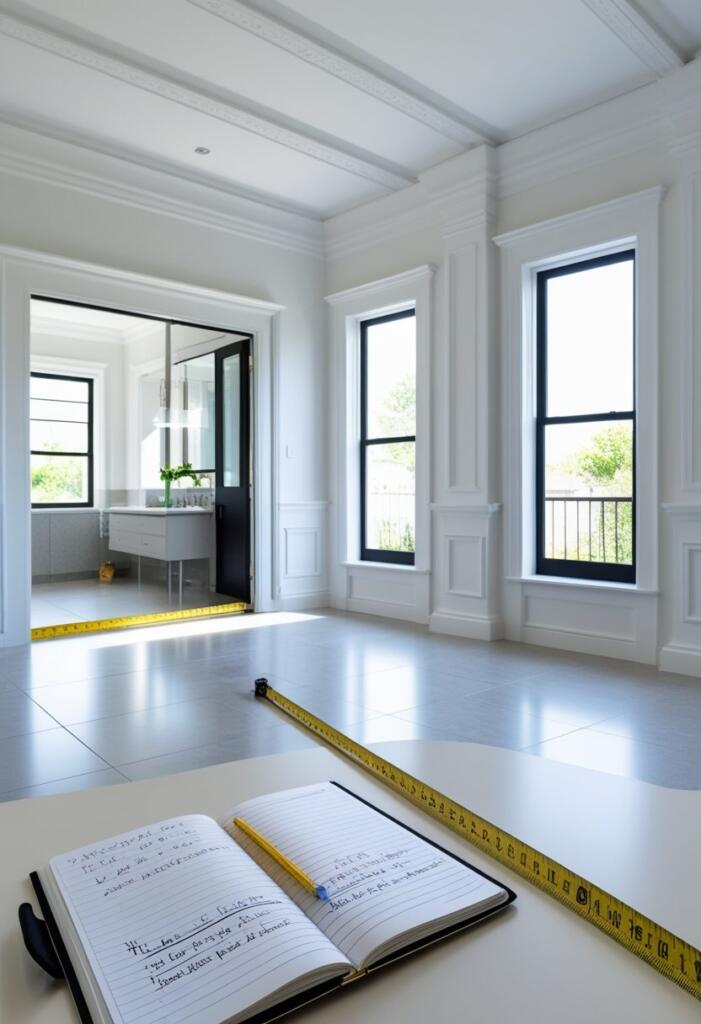
Evaluate What Works (and What Doesn’t)
- List the problem areas: Is your kitchen always cluttered? Does your bathroom feel cramped?
- Note the good stuff: Maybe your living room has great natural light or your hallway has charming original moldings.
Measure Everything
Seriously, measure everything. You don’t want to fall in love with a six-foot couch only to find out your living room fits five-foot furniture.
- Wall lengths and heights
- Window and door placements
- Ceiling heights
FYI: Taking photos of your space can also help when discussing ideas with pros later!
Step 3: Set a Realistic Budget
Ah, the big B-word: Budget. This is where dreams meet reality—but don’t worry, with the right approach, you can make the most of what you have.

Breakdown Your Costs
Here’s a simple way to organize your renovation budget:
- Labor (contractors, electricians, plumbers)
- Materials (flooring, tiles, paint)
- Fixtures and finishes (lighting, hardware)
- Permits and fees
- Contingency fund (at least 10–20% for unexpected surprises)
Keep Track of Everything
Use a spreadsheet or budgeting app to keep tabs on your spending. Trust me, it’s way too easy for little expenses to add up fast.
Pro tip: Always get multiple quotes from contractors and suppliers. Prices can vary a lot!
Step 4: Research and Hire the Right Professionals
Unless you’re a DIY wizard (and even then), you’ll probably need some help. Finding the right people is key to a successful renovation.

How to Find Great Contractors and Designers
- Ask friends and family for recommendations
- Check online reviews (Google, Yelp, Houzz)
- Interview multiple candidates before making a decision
What to Ask Potential Pros
- Are you licensed and insured?
- Can I see examples of your previous work?
- What’s your estimated timeline?
- How do you handle unexpected issues?
Don’t be shy—this is your home we’re talking about!
Step 5: Get the Necessary Permits
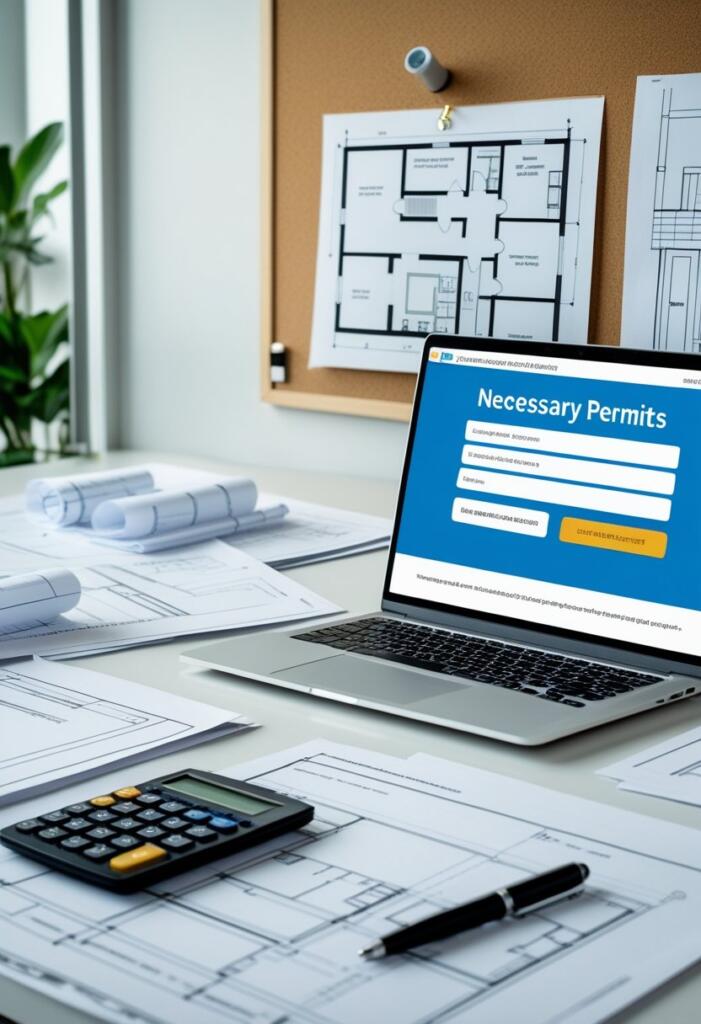
Permits might not be the most exciting part of pre-renovation planning, but they’re absolutely essential. Skipping permits can lead to fines or trouble when you sell your home.
Know What Needs a Permit
- Structural changes (knocking down walls, adding rooms)
- Electrical or plumbing upgrades
- Major exterior work (decks, additions)
Check with your local municipality to see what’s required in your area.
How to Apply
- Gather your plans and documents
- Fill out the necessary forms (often online these days)
- Pay the required fees
IMO, getting permits sorted early saves you headaches later on.
Step 6: Create a Detailed Timeline
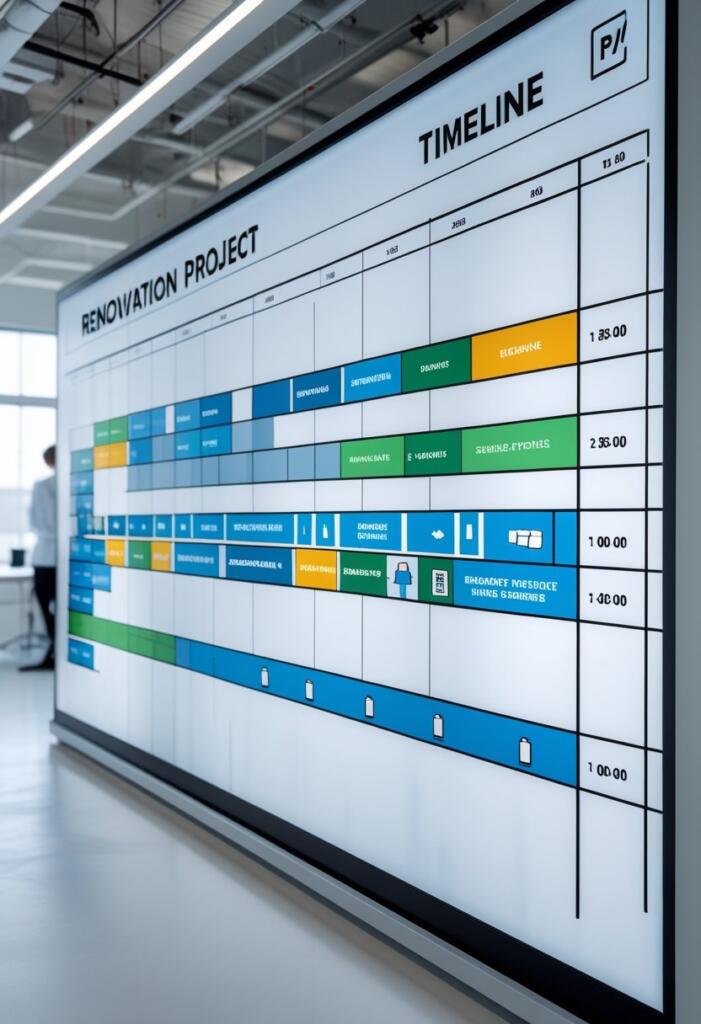
Timelines keep everyone on track. Without one, projects can drag on forever (ask me how I know .
Mapping Out Your Renovation Schedule
- List all tasks in order (demolition, framing, plumbing, etc.)
- Set realistic deadlines for each phase
- Build in buffer time for delays (they happen!)
Share your timeline with your contractor and check in regularly to make sure things are moving along.
Step 7: Prepare for the Unexpected
Even with the best pre-renovation planning, surprises will pop up. Maybe you discover old wiring, or maybe your dream tile is backordered.
How to Stay Flexible
- Keep that contingency fund handy
- Have backup options for materials and finishes
- Communicate openly with your team about changes
Remember, flexibility is your friend during a renovation.
Step 8: Plan for Daily Life During Renovation
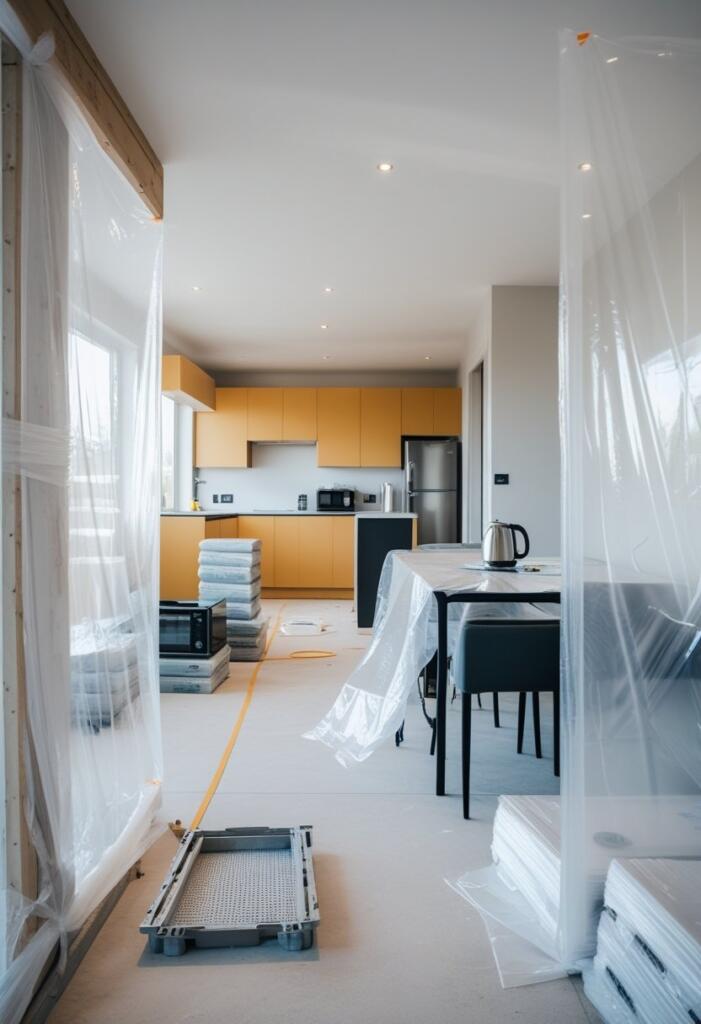
Living through a renovation can be…interesting. Dust, noise, and chaos are part of the deal. But a little planning can make it way more bearable.
Tips for Surviving the Chaos
- Set up a temporary kitchen or bathroom if needed
- Protect your belongings with plastic sheeting or move them out
- Establish clear boundaries for work zones
And don’t forget to schedule some downtime away from the mess—your future self will thank you!
Step 9: Communicate, Communicate, Communicate
If there’s one thing I’ve learned, it’s that clear communication is everything. Whether you’re working with a contractor or just coordinating with your partner, keep everyone in the loop.

Best Practices for Staying on the Same Page
- Hold regular check-ins with your team
- Use group chats or project management apps
- Keep a renovation journal to track decisions and changes
Bold moves: Don’t be afraid to speak up if something doesn’t look right!
Step 10: Celebrate Your Success!
When the dust settles and your new space is finally ready, take a moment to appreciate all your hard work. You planned, you persevered, and now you get to enjoy the results.
Show Off Your New Space
- Host a little get-together to show friends and family
- Share your before-and-after photos online
- Treat yourself to something special for making it through
Wrapping Up: Your Pre-renovation Planning Checklist
Let’s do a quick recap, shall we?
- Define your goals and set priorities
- Assess your space and take detailed measurements
- Set a realistic budget (don’t forget the contingency fund!)
- Hire the right professionals for the job
- Get all necessary permits
- Create a detailed timeline with built-in buffers
- Prepare for surprises—they will happen
- Plan for daily life during the chaos
- Communicate clearly with everyone involved
- Celebrate your new space when it’s all done!
Pre-renovation planning isn’t just a box to check—it’s your roadmap to a successful, stress-free renovation. Take it from someone who’s been there: a little prep now means way fewer headaches later.
Ready to get started? Grab that notebook, fire up your imagination, and let’s make your dream space a reality. And hey, if you ever need a pep talk or some friendly advice, you know where to find me. Happy renovating!


